其他电脑上,在linux终端下,可直接输入以下指令,进行代理:
export http_proxy=http://xxxxxx:xxxx
export https_proxy=http://xxxxxx:xxxx
取消代理
unset http_proxy https_proxy。
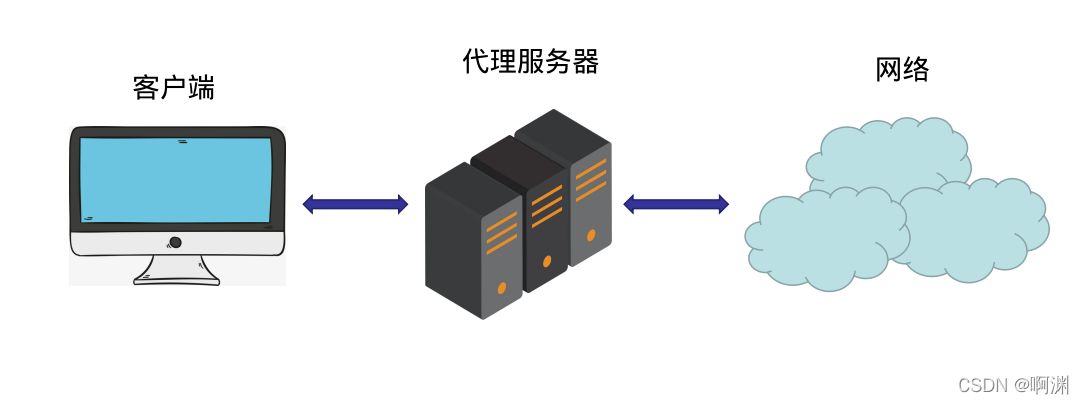
这个时候客户端的电脑上网,可以通过代理服务器进行访问。
关于lin搭建代理服务器的方法这里我用的是Tinyproxy作为代理服务软件。这个东西很小,并没有几M。tinyproxy最大的特点就是小,功能简单,配置简单安装CopyCopydebian系:apt-get install tinyproxycentos系:yum install tinyproxy检查systemctl status tinyproxy.service结果如下: tinyproxy.service -
TinyProxy介绍
TinyProxy是轻量级的开源 HTTP/HTTPS 代理守护程序(轻量级http代理服务器),它从一开始就设计得既快又小,是一个理想的解决方案,适用于需要全功能HTTP代理的嵌入式部署等用例,但无法使用较大代理的系统资源。
·占用少量的系统资源
·兼容性不错
下载tinyproxy软件
如需要,请点击tinyproxy-1....
wget -P /opt/software https://github.com/tinyproxy/tinyproxy/releases/download/1.11.0-rc1/tinyproxy-1.11.0-rc1.tar.gz
mkdir /opt/module
cd /opt/software
tar -zxvf tinyproxy-1.11.0-rc1.tar.g
1. 安装代理软件tinyproxy
TinyProxy和 Squid 都是比较优秀的代理软件
TinyProxy比较小众,虽然没有Squid的功能丰富,但是小巧简单,也能满足一般的用户需求。
Squid是一款优秀的代理软件,有很丰富的ACL管理功能,虽然squid很强大,但配置较繁琐
有公网IP的服务器上 CentOS
安装 TinyProxy
yum install ...
vi /etc/tinyproxy/tinyproxy.conf
Port 8888 //预设是8888 Port,你可以更改
Allow 127.0.0.1 // 允许的IP地址, 将127.0.0.1改成你自己的IP
//Allow 192.168.1.0/24 #表示一个网络的IP
//例如你的IP 是1.2.3.4,你改成Allow 1.2.3.4,那只有你才可以连上这个Proxy
//若你想任何IP都可以连到Proxy
Linux MQTT服务器搭建需要以下步骤:
1. 安装Mosquitto:Mosquitto是一个流行的MQTT代理,可以在Linux上安装。使用以下命令安装Mosquitto:
sudo apt-get install mosquitto
2. 安装Mosquitto客户端:Mosquitto客户端是用于连接到Mosquitto代理的工具。使用以下命令安装Mosquitto客户端:
sudo apt-get install mosquitto-clients
3. 配置Mosquitto:默认情况下,Mosquitto代理将监听1883端口。您可以通过编辑Mosquitto配置文件来更改此端口。使用以下命令打开Mosquitto配置文件:
sudo nano /etc/mosquitto/mosquitto.conf
4. 启动Mosquitto:使用以下命令启动Mosquitto代理:
sudo systemctl start mosquitto
5. 测试Mosquitto:使用以下命令测试Mosquitto代理是否正在运行:
mosquitto_sub -h localhost -t test
如果一切正常,您应该能够看到Mosquitto代理接收到的消息。
以上就是Linux MQTT服务器搭建的基本步骤。

